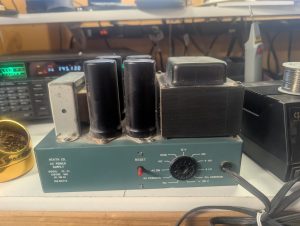
Continuing on my quest to finish projects that I have laying around the shack, I come upon a Heathkit PS-23 power supply.
Years ago I purchased a kit from oldheathkitparts.com to upgrade these venerable power supplies that where used for the HW-101 and SB-101 Transceivers of the same era. It consisted of a PCB, capacitors, resistors and diodes that were used to replace almost all of the components of the power supply except for the top mounted transformer and choke.
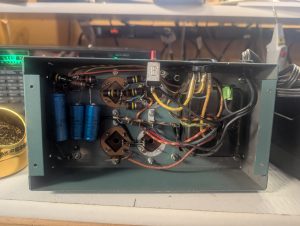 You can see what it looked like prior to the start of the operation. The main caps where mounted on the top of the power supply and the rest of the components where mounted on the bottom of the power supply. The instructions for the upgrade kit where delivered with the components on a cdrom. For the most part they were pretty good, however this kit covered the HP-23 A, B, C and the PS-23 versions of the power supply and I had to decipher the instructions for the PS-23 model.
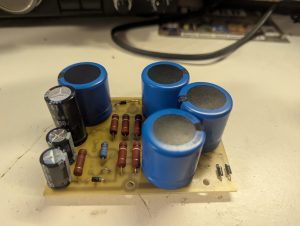
The picture to the right shows the PCB board populated with all of the components installed on it.
It was now ready to put in. But first I had to depopulate the power supply of all of it’s existing components.
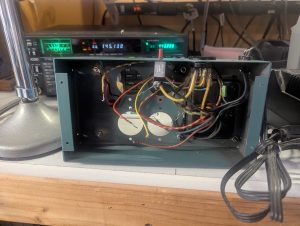 Here is the power supply with all of it’s previous components removed. I had to be careful not to remove any more of the wires then I needed, since they would be re-used later. All of the solder lugs where removed also.
If the one you are working on has an old frayed or cracked cord, this would be the time to replace that as well.
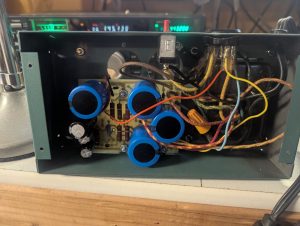
So this is a pic of the new PCB board installed. I did have to extend some wires to reach the proper places. I soldered and used some heat shrink tubing on those wires. The kit came with some standards to raise the board from the frame of the power supply.
Remember you are working with very high voltage with this power supply so take proper precautions when doing this work.
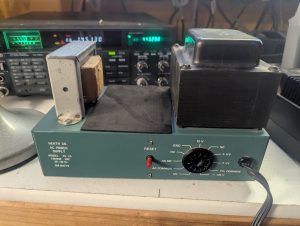
The pic to the left is the final product. The kit came with a sheet of glue backed rubber material to apply over the holes on the top.
Over all it was an easy kit to put in and quite effective to extend the life of the power supply.
But Allen you say, when I go the the oldheathkitparts.com website it appears to have disappeared. You are correct, I did purchase this years ago and it appears the owner has discontinued his production.
So what do you do? Well while I was working on this one, I found a Heathkit HP-23-A tucked away that I forgot about. So I searched on the Internet and found that the Antique Wireless Association has produced a board for $20.00 with instructions and a BOM to do this upgrade. So I purchased one and it is on the way. So stay tuned for another Heathkit power supply refurb in the near future.
Allen
WD0DXD
73